
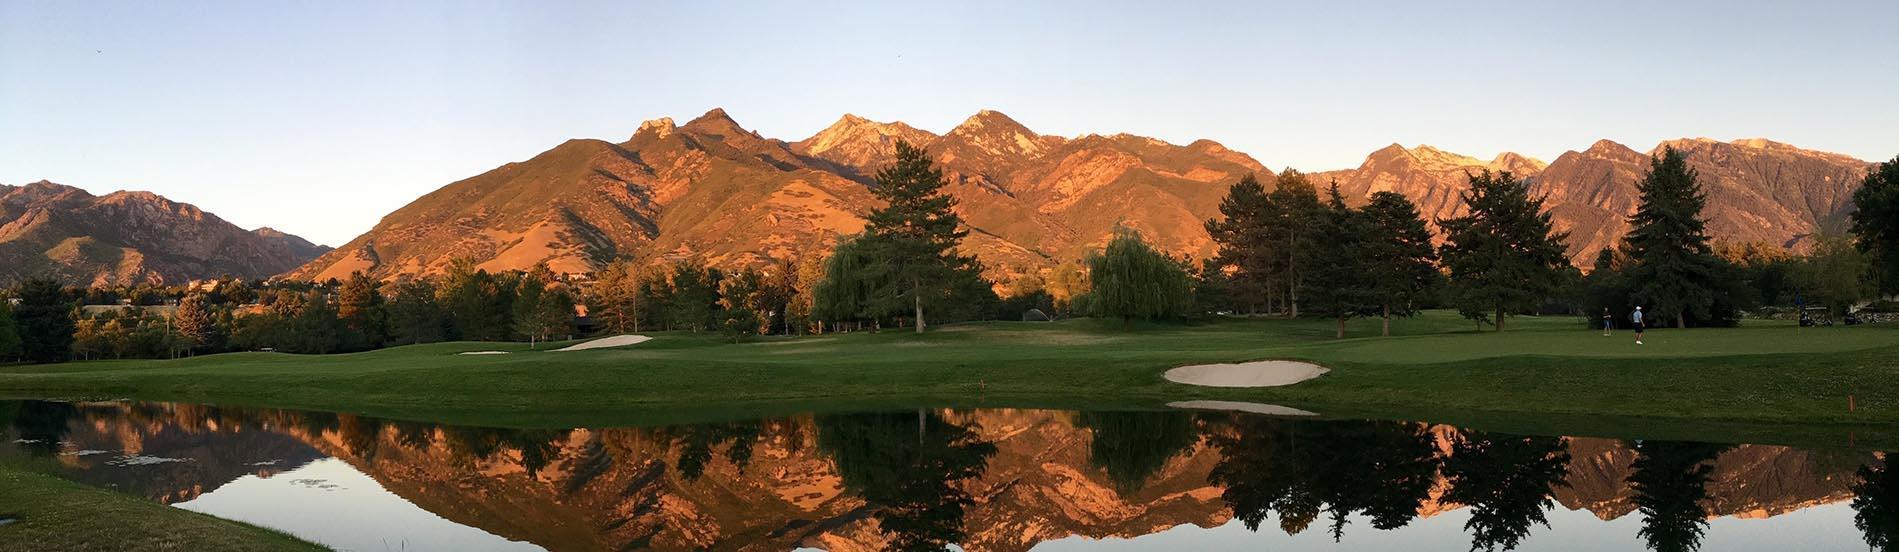
Willow Creek Country Club | Est. 1957

This 18-hole championship golf course was designed by Henry Hughes in 1957 and remodeled in 2004 by Damian Pascuzzo.
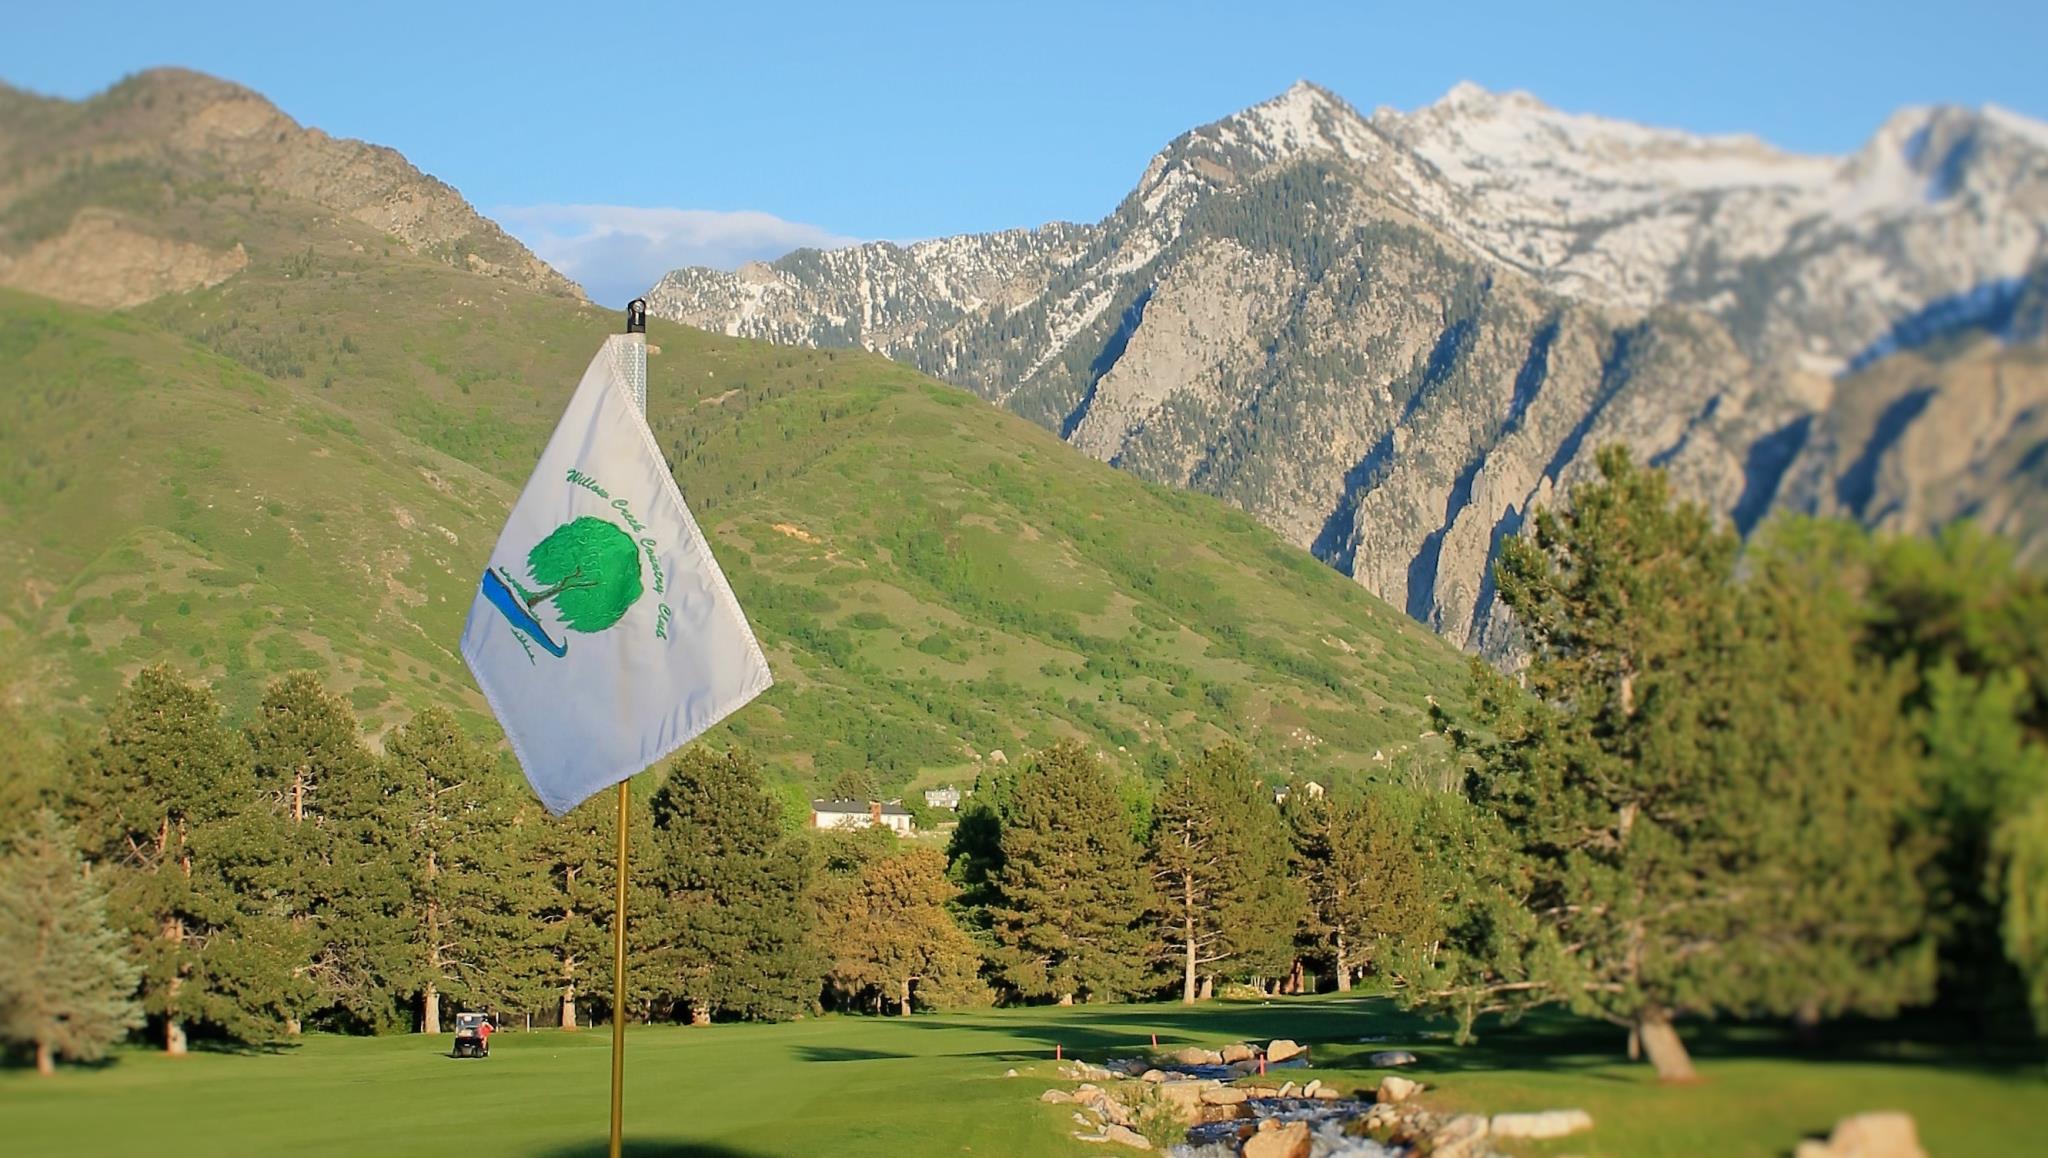
Tree-lined fairways and undulating greens instill a traditional feel, but new wrinkles and updates have added to the overall aesthetics of our 7,096 yard course.
Hole 1
-
 544
544
-
 520
520
-
 477
477
-
 452
452
-
 477
477
PAR: 5/5 (M/W)
Handicap: 5/5 (M/W)
Hole #1 is a medium length dog leg left par 5. Drive the ball between the willow tree on the right and the bunker on the left. Try favoring the right side of the fairway for an easier second shot. Once in the fairway, the hole moves left and uphill to a very undulating green bracketed by two sand traps. The green has some extreme slopes and a back left shelf that can influence putts on the entire green.
Pro Tip: If your tee shot isn't in perfect position, then play a mid-iron lay-up that leaves an approach of less than 100 yards.

Hole 2
-
214
-
197
-
172
-
138
-
172
PAR: 3/3 (M/W)
Handicap: 9/9 (M/W)
Probably the most difficult par 3 on the course. The kidney-shaped green has plenty of slope and protection. Large trees guard both sides and a huge greenside bunker defends the left half of the green.
Pro Tip: Avoid going over the green on the tee shot. Anything short of the green has a better chance of getting up and down.

Hole 3
-
547
-
525
-
525
-
469
-
499
PAR: 5/5 (M/W)
Handicap: 9/1 (M/W)
This hole is a dogleg right par 5. The bunkers on the corner of the fairway can be reached from the tee box. The big hitters can cut the corner over the pine trees on the right. Once in the fairway, be aware of the large bunker on the right-hand side. This sand trap is deceivingly short of the green and can give a player the dreaded 40-yard bunker shot. It takes long, well-placed shots to reach this green in two. This putting surface has a lot of undulation from back to front.
Pro Tip: After finding the fairway from the tee box, play down the left side of the fairway . The left side has fewer trees and only one bunker to deal with, plus the green opens up from that side.

Hole 4
-
469
-
447
-
435
-
414
-
435
PAR: 4/5 (M/W)
Handicap: 1/11 (M/W)
The longest par 4 on the course takes a demanding tee shot and a long iron or fairway wood to the green. A good aiming point is just left of the far bunkers. The approach is a blind uphill shot to a relatively small green.
Pro Tip: Don't be long and left on the approach, as it will leave you with a tough up and down.

Hole 5
-
189
-
167
-
167
-
115
-
142
PAR: 3/3 (M/W)
Handicap: 17/17 (M/W)
This medium-length par 3 is straightforward; trees surround three sides of the green, and three bunkers—that make front pin locations tricky—guard the front. The 14th green is long and narrow with some extreme slope toward the back.
Pro Tip: Check your yardage and play for the center of the green.

Hole 6
-
436
-
396
-
396
-
328
-
369
PAR: 4/4 (M/W)
Handicap: 5/7 (M/W)
Number 6 starts the best finishing stretch of a front nine in the state of Utah. The blue, white, and green tees require a solid drive between the bunkers, leaving a player with a short-iron approach. If you really want to challenge your game, go to the black tee box. The hole measures 436 yards and is an extreme 90-degree left turn to the green. The tee shot starts with a tree-lined chute toward the bunker through the fairway. Using a driver can go through the fairway and equal big numbers, but if you don’t make it to the corner the trees block any attempt at the green. Welcome to your approach shot that will measure between 190-220. The green is squeezed between two bunkers that attract a lot of balls, and don’t overshoot the green by too much: out-of-bounds is less than 10 paces away.
Pro Tip: Use a 3- or 5-fairway wood off the tee to set up the approach with your long iron.

Hole 7
-
213
-
186
-
186
-
124
-
141
PAR: 3/3 (M/W)
Handicap: 17/17 (M/W)
Enjoy the view on the last par 3 on the front nine, with an elevated tee shot to one of the largest greens on the course. The pin placement is a deciding factor on this hole. Depending on weather conditions and tee placement, club selection is very important with the distance changing by more than 30 to 40 yards from front to back edge.

Hole 8
-
421
-
365
-
348
-
333
-
348
PAR: 4/5 (M/W)
Handicap: 7/9 (M/W)
Number 8 is the most scenic hole on the property! Starting on an elevated tee shot facing the beautiful Wasatch Mountains, the dual fairway is dissected by a wandering creek. Lay up short of the water with a long iron, or take your chances with a driver and try and launch it over the water hazard. From the fairway keep it left. The creek starts down the right side of the green and a large pond protects the green. Watch out for the false front on the green, as any shot with some spin could find water. Alongside the water to the right and front is a large bunker framing the left side of the green.
Pro Tip: Let your chosen tee box determine club selection. Playing from the back tees might warrant using the right fairway, although wind conditions and the upper boxes might influence a person to Grip It and Rip It!

Hole 9
-
404
-
384
-
384
-
335
-
359
PAR: 4/4 (M/W)
Handicap: 11/5 (M/W)
The creek stretches down the entire left side and feeds into a water hazard that surrounds half of the green. A fairway bunker and tall trees that block a clear view of the green guard the right side. The large kidney-shaped green that is protected by three bunkers has a small ridge in the middle, making long putts a challenge.
Pro Tip: Play your tee shot short of the right bunker and leave yourself a mid iron into the green.

Hole 10
-
591
-
530
-
530
-
436
-
511
PAR: 5/5 (M/W)
Handicap: 2/2 (M/W)
This straightforward par 5 is a definite three-shot hole. After a good tee shot, a fairway wood or long iron will leave the player with a short-iron approach shot. The smart play is to stay short or right of the fairway bunkers on the second shot. The green has a small false front and slopes from back to front.
Pro Tip: Avoid the three fairway bunkers short of the green, as they make for a tough bunker shot!

Hole 11
-
242
-
183
-
153
-
128
-
153
PAR: 3/3 (M/W)
Handicap: 12/18 (M/W)
This is long par 3 and is visually intimidating off the tee. With bunkers surrounding the green and water crossing short of the hole, this two-tiered green slopes from back to front. Depending on the tee box selection, a wedge to 3-wood might be the club of choice.
Pro Tip: Keep it simple on all the par 3s; play to the middle of the green.

Hole 12
-
575
-
542
-
482
-
449
-
482
PAR: 5/5 (M/W)
Handicap: 6/8 (M/W)
This dogleg-left par 5 starts with an elevated tee shot. The fairway slopes to the left, so all shots will kick toward the fairway bunker. The green is protected by three sand traps; be careful with your second shot. The middle bunker protects the green and can leave a player with a 30-yard sand shot. The putting surface has an interesting ridge that separates the two levels.
Pro Tip: Unless you BOOM a drive, lay-up short of the middle bunker on the second shot. The third shot will be no more than a wedge.

Hole 13
-
382
-
368
-
368
-
314
-
343
PAR: 4/4 (M/W)
Handicap: 8/4 (M/W)
Golfers will have their first encounter with a demanding tee shot on this hole. Large pines define the left side and a huge oak tree and bunker block the inside corner of this dogleg-right par 4. A well-placed tee shot leaves a player with a mid- to short-iron approach to a very extreme green with two tiers.
Pro Tip: Don't ever be long of the green—everything slopes away from the player and makes getting it up and down nearly impossible.

Hole 14
-
387
-
373
-
373
-
318
-
356
PAR: 4/4 (M/W)
Handicap: 14/14 (M/W)
The tee shot on this short par 4 calls for some course management. Long hitters will want to go with the Driver, but many hazards watch over the small fairway. Three strategically placed sand traps, trees on both sides, and OB/ water all must be taken into account on the tee box.
Pro Tip: The smart choice is to use a fairway wood or long iron toward the small tree on the left side of the fairway. The approach shot will be between 170 and 150 yards to a very receiving green.

Hole 15
-
172
-
144
-
144
-
103
-
130
PAR: 3/3 (M/W)
Handicap: 15/16 (M/W)
Considered by members to be the easiest of the par 3s, five bunkers surround the putting surface and water runs in front of the green. The green is one of the flattest on the golf course, but the subtle breaks can challenge the best of putters.
Pro Tip: Aim for the center, take your par, and move on to the next hole.

Hole 16
-
388
-
372
-
323
-
297
-
323
PAR: 4/4 (M/W)
Handicap: 10/12 (M/W)
Another short par 4, the left side of this fairway is guarded by three bunkers. Hitting a shot up the middle to the right side will leave you with a good angle at the green. The green slopes from back to front and also includes a long ridge that runs lengthwise, making a three putt very possible.
Pro Tip: This is a short hole, so choose the club that will keep you in the middle to right side of the fairway.

Hole 17
-
581
-
537
-
495
-
467
-
495
PAR: 5/5 (M/W)
Handicap: 4/6 (M/W)
This par 5 is a real risk-reward hole. The tee box is set back among the trees and requires a long drive to have any chance of reaching the green in two shots. The hole is a 90-degree dogleg right with a group of trees guarding the inside corner and two fairway bunkers defining the outside turn. After the corner, the hole starts a gentle decline to the large green. An amoeba-like bunker blocks the front right portion of the green and a pond shapes the left side.
Pro Tip: Unless there is an unobstructed view of the green, play smart and use three shots.

Hole 18
-
355
-
338
-
338
-
262
-
302
PAR: 4/4 (M/W)
Handicap: 16/10 (M/W)
The finishing hole is the shortest par 4 on the golf course. The tee shot is between a fairway wood and a long iron, leaving a short club or wedge for the approach. A large water hazard shields the right side and splits the fairway in half. The long hitter can take a chance down the left-hand side, but a slight miscue can lead to a penalty shot. The green slopes severely from back to front and three-putting is always a possibility.
Pro Tip: Play a long iron up the fairway; this will leave most players with less than 150 yard to the middle of the green. Keep it underneath the hole on your approach shot!
